5 Tips to improve your street photography
For this guide, we have had the pleasure of talking to Exeter-based street photographer Daniel Ridgeway. He provides us with insight into his top tips when capturing captivating images when out on the streets.
From Daniel
Street photography is one of the most exciting and challenging genres of photography. It involves capturing candid moments of life in public places, such as cities, markets, festivals, or transport. Street photography can be a great way to express your creativity, document your surroundings, and connect with people and cultures. However, street photography can also be intimidating and frustrating, especially for beginners. You may struggle with finding interesting subjects, dealing with low light, or overcoming your fear of photographing strangers. You may also feel overwhelmed by the technical aspects of your camera, such as exposure, focus, and aperture.
That's why I want to share with you 5 tips that will help you improve your street photography skills and enjoy the process more. These tips are based on my own experience and research, and they cover both the artistic and the technical aspects of street photography. Let's get started!

Snap Focus or Zone Focusing
One of the biggest challenges of street photography is to capture the decisive moment, the split second when everything comes together in a perfect composition. However, if you rely on your camera's autofocus, you may miss the moment, as it can be slow or inaccurate in some situations. That's why I recommend using snap focus or zone focusing, a technique where you manually prefocus your lens to a certain distance and adjust your aperture for a deep depth of field. Then, when you see an interesting subject, you don't need to focus through your viewfinder; instead, you wait for your subject to enter your acceptable zone of focus and capture the photo. This technique is useful for street photography, where the action happens fast and you don't have time to autofocus or manually focus on every shot. It also helps you to be more discreet and avoid drawing attention to yourself by raising your camera to your eye.
To use snap focus or zone focusing, you need to know the hyperfocal distance of your lens, which is the distance at which everything from half that distance to infinity will be in focus. You can use a chart, an app, or a calculator to find the hyperfocal distance of your lens, or you can experiment and estimate it by yourself. For example, if you use a 35mm lens on a full-frame camera, and you set your aperture to f/8, your hyperfocal distance will be around 5 meters. This means that everything from 2.5 meters to infinity will be in focus. So, you can set your focus to 5 meters, and then look for subjects that are within that range. Of course, you can also change your aperture and your focus distance depending on the situation and the effect you want to achieve. The smaller the aperture, the deeper the depth of field, and the larger the zone of focus. The closer the focus distance, the more isolated the subject, and the more blurred the background.

2. Highlight-Weighted Metering
Another challenge of street photography is to deal with the high contrast between light and dark areas, especially when you shoot at night or indoors. If you use the default metering mode of your camera, such as matrix or evaluative, you may end up with overexposed highlights, underexposed shadows, or both. That's why I suggest using highlight-weighted metering, a metering mode that measures the light in the scene and prioritizes the exposure of the highlights, preventing them from being overexposed or blown out. This mode is available on some newer cameras, such as Nikon Z series, Canon EOS R series, or Sony Alpha series. Highlight-weighted metering is helpful for street photography, especially when you have a lot of bright sources of light, such as spotlights, neon signs, or reflections. It also creates a more cinematic and dramatic look for your images, as the shadows will be darker and the highlights will be more defined.
To use highlight-weighted metering, you need to select it from your camera's menu or button, and then use your exposure compensation to adjust the brightness or darkness of your image, depending on your preference and the lighting conditions. You can also use your histogram to check the exposure of your image and avoid clipping the highlights or the shadows. For example, if you shoot a street scene at night, and you want to preserve the details of the neon signs and the street lamps, you can use highlight-weighted metering and dial down your exposure compensation by one or two stops. This will make your image darker, but it will also make the lights more vivid and colourful.

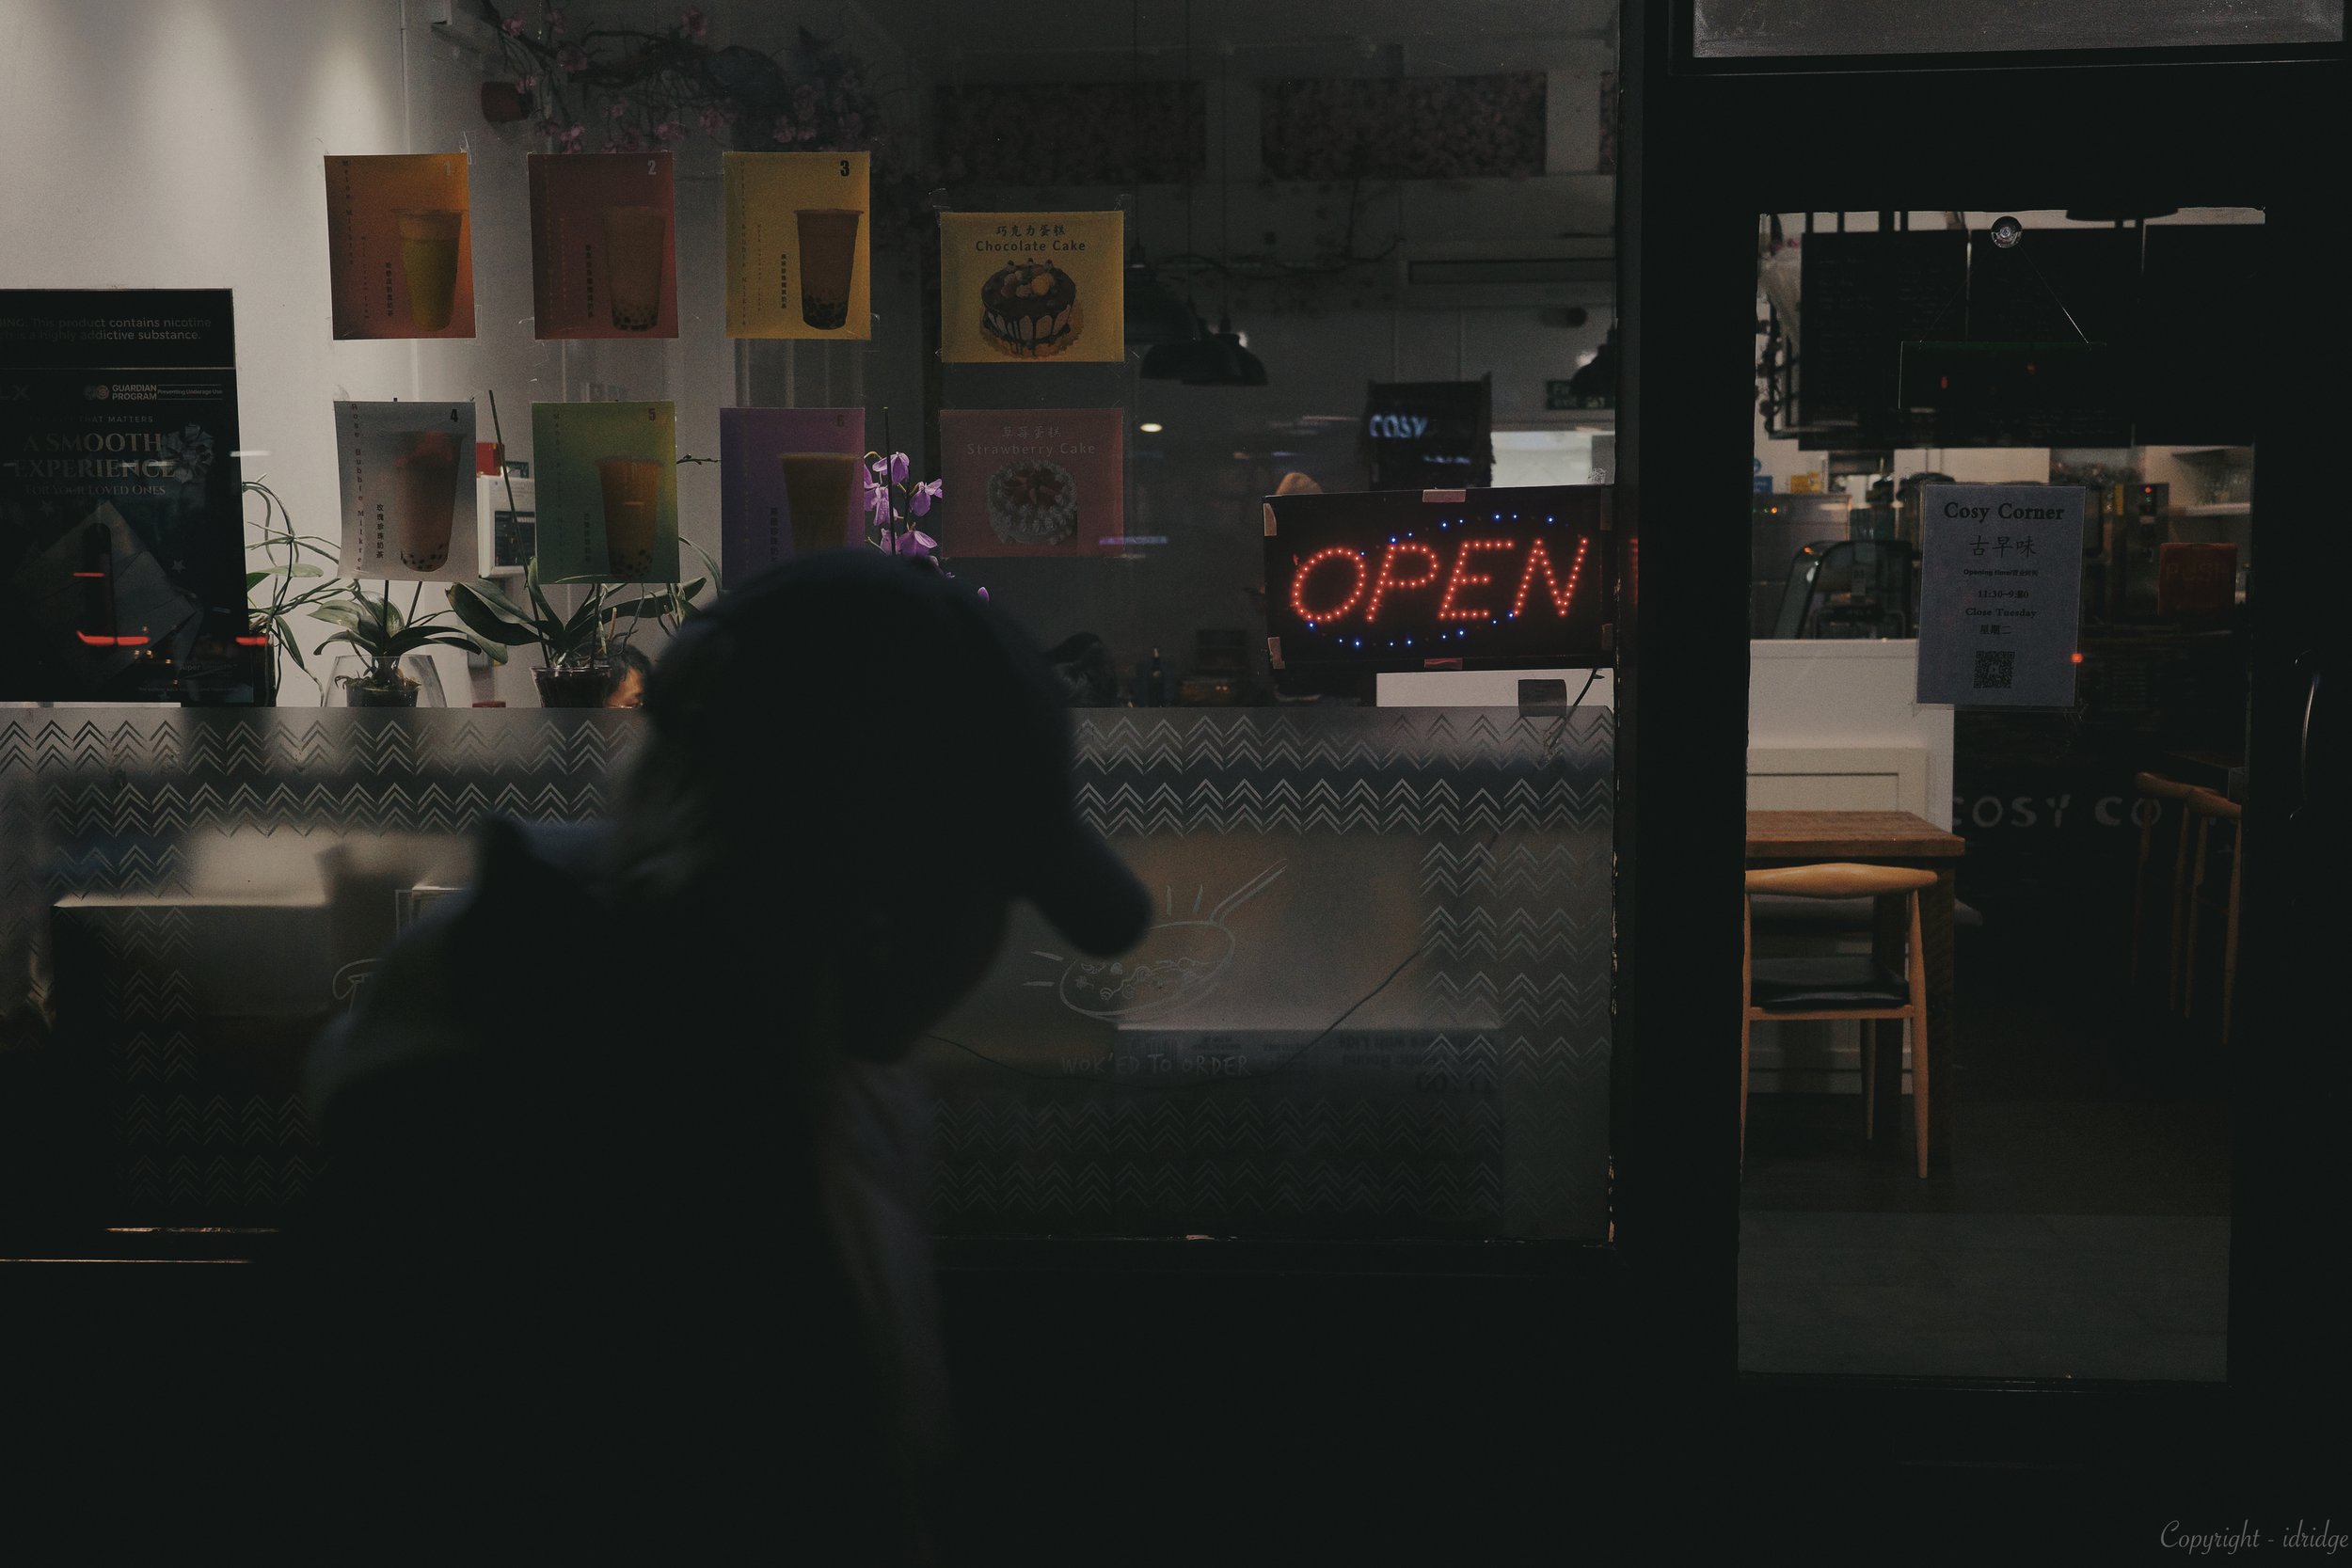
3. Black Mist Filter
One of the ways to make your street photography more creative and unique is to use filters, which are accessories that you attach to your lens to modify the light or the colours of your image. There are many types of filters, such as polarizing, neutral density, or color filters, but the one I want to talk about is the black mist filter. A black mist filter is a filter that gives your images a soft, diffused, ethereal look, commonly associated with the cinematic or analogue visual styles of photography and videography. It lowers the contrast by suppressing and diffusing the highlights and lifting the shadows, creating a more balanced tonal range. It also adds a soft glow around light sources, especially at night, creating a bloom effect that can enhance the mood and atmosphere of your images. To use a black mist filter, you need to buy one that fits your lens size and strength, and then screw it onto your lens. You can also stack it with other filters, such as polarizing or neutral density filters, to create different effects. However, you need to be careful not to overdo it, as too much diffusion can make your image look blurry or washed out. For example, if you shoot a street scene at dusk, and you want to create a more film-like look and a more romantic vibe, you can use a black mist filter and set your white balance to warm. This will make your image softer, warmer, and more dreamy, and it will also make the sun or the street lights more glowing and magical.

4. Aperture Priority Mode
One of the common mistakes of street photography is to get distracted by the technical aspects of your camera, such as shutter speed, ISO, and aperture. While these settings are important, they should not take away your attention from the artistic aspects of your photography, such as composition, timing, and storytelling. That's why I advise using aperture priority mode, where you set the aperture and the camera automatically sets the shutter speed and ISO for the correct exposure. This simplifies your process and allows you to focus more on composition and timing, rather than adjusting your settings for every shot. You can also use exposure compensation to fine-tune the brightness or darkness of your image, depending on your preference and the lighting conditions.
A general guideline for choosing the aperture is to use a smaller aperture (higher f-number) for a deeper depth of field and a sharper image, or a larger aperture (lower f-number) for a shallower depth of field and a more blurred background. However, you can also experiment with different apertures to create different effects and moods for your images. For example, if you shoot a street scene in the day, and you want to capture the details and the context of the scene, you can use a smaller aperture, such as f/11 or f/16. This will make your image sharper and clearer, and it will also show more of the background and the environment. On the other hand, if you shoot a street portrait, and you want to isolate the person from the crowd, you can use a larger aperture, such as f/2.8 or f/4. This will make your image softer and smoother, and it will also blur the background and the distractions.

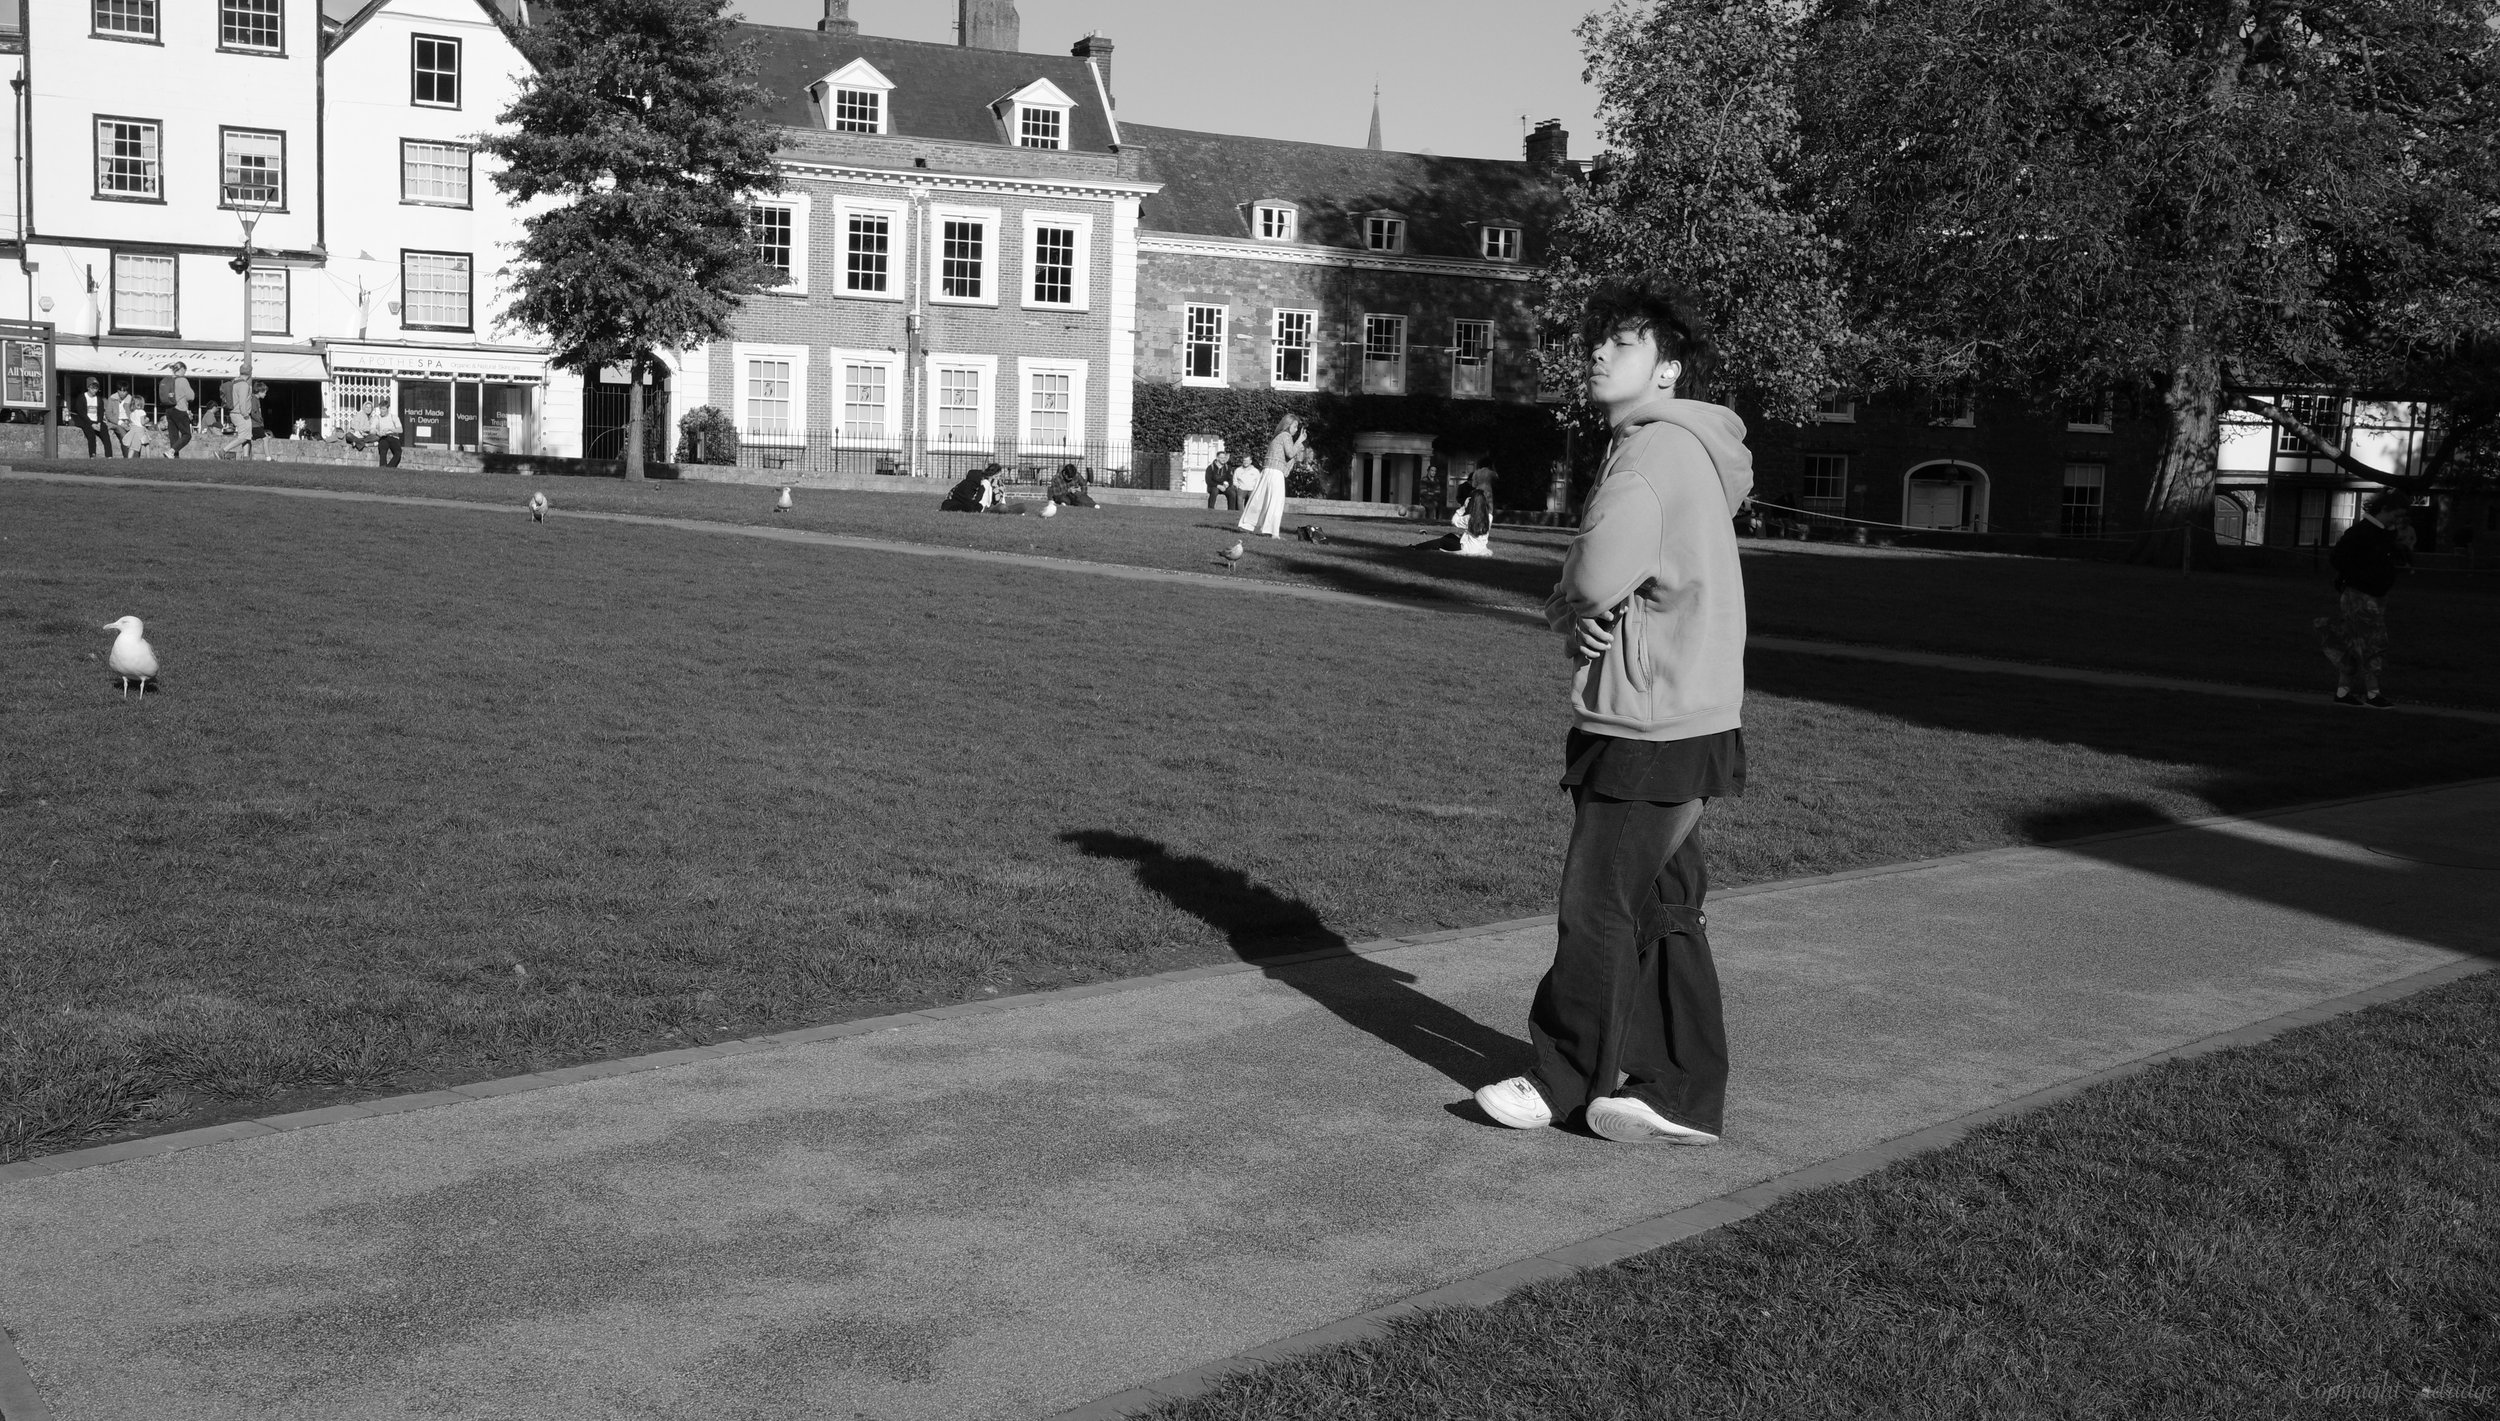
5. Practice Mindful Photography
One of the benefits of street photography or any form of photography, is that it can help you to improve your mental health and well-being, as it can be a form of meditation and mindfulness. Mindfulness is the practice of being fully present and aware of your surroundings, paying attention to the details, and appreciating the beauty of the moment. Mindful photography is the application of mindfulness to photography, where you use your camera as a tool to focus your attention and express your feelings. Mindful photography can help you to reduce stress, anxiety, and depression, as well as to increase your happiness, creativity, and self-esteem.
Tips on how to practice mindful photography:
Slow down and breathe deeply, noticing the sensations in your body and the sounds and smells around you.
Observe your environment with curiosity and openness, without judging or labeling what you see.
Choose a theme or a focus for your photography, such as colours, shapes, textures, light, or shadows, and look for them in your surroundings.
Be intentional and deliberate with your camera settings, framing, and composition, but also be flexible and spontaneous, allowing yourself to be surprised by what you discover.
Review your images with gratitude and compassion, noticing what you like and what you can learn from them, without being too critical or attached to the outcome.